So, if you are familiar with San, you would know that there are some accessories that she wears. These include earrings, armbands, a headband, and a spiky necklace. I will be showing how I constructed these accessories for her outfit.
I'll start with the earrings, since they are really simple. I am a huge craft freak, so I already have a big supply of Sculpey polymer clay in my possession. Because of this, I decided to make the accessories out of that clay. I basically took my white clay and flattened it out into an even thickness. I used my clay conditioning machine that I got a couple years ago, but if you don't have that, just use a roller. I actually used old hoop earrings that I had that I didn't wear anymore as a template, but you can always use a big circle cookie cutter. I traced out the circle and then cut it out of the clay. I made two circles and poked a hole at the top of both circles. I baked these in the oven and then attached an earring hook through the hole.

These are what they looked like after baking. Just attach a jump ring to the hole and put on the earring hooks for completed earrings!
Now onto the armbands and headband.
I started by measuring around the top of my arms (right below my armpit area) and around my forehead. I then cut out three strips of fabric; two pieces that are the size of my arms, and one strip for my head. I used extra fabric that I had left over from making my San dress (another post) so they could match.

This was me measuring out the strips from my navy blue fabric.


These are the three strips you should have. Now you have some options: you can either sew these strips or use hot glue. I decided to use hot glue, since it was easier and faster. Basically, I folded the width of the strips in half and glued them together so they were skinnier, then I folded them in half lengthwise and put a small glob of glue to make them into circles (kinda looking like bracelets). San has a gem on each of her bands, so I made these out of polymer clay too.
I actually used translucent polymer clay from Sculpey, but you can use white too.
I made three flat circles that were rounded at the top to make raised gems. I baked them and this is what they looked like:

You can see that two of the balls are smaller than the other. The two smaller ones are for the armbands, and the biggest one is for the headband.
Then, I put a glob of glue on the back of each clay ball and glued them in the middle of each band. This is what they turned out to be:

You can see the top one is the headband and the two bottom ones are the armbands.
Next, the necklace.
When I post how I made my wolf pelt, I'll show how I attach the necklace to the pelt, so for now I'll just show how I made it.
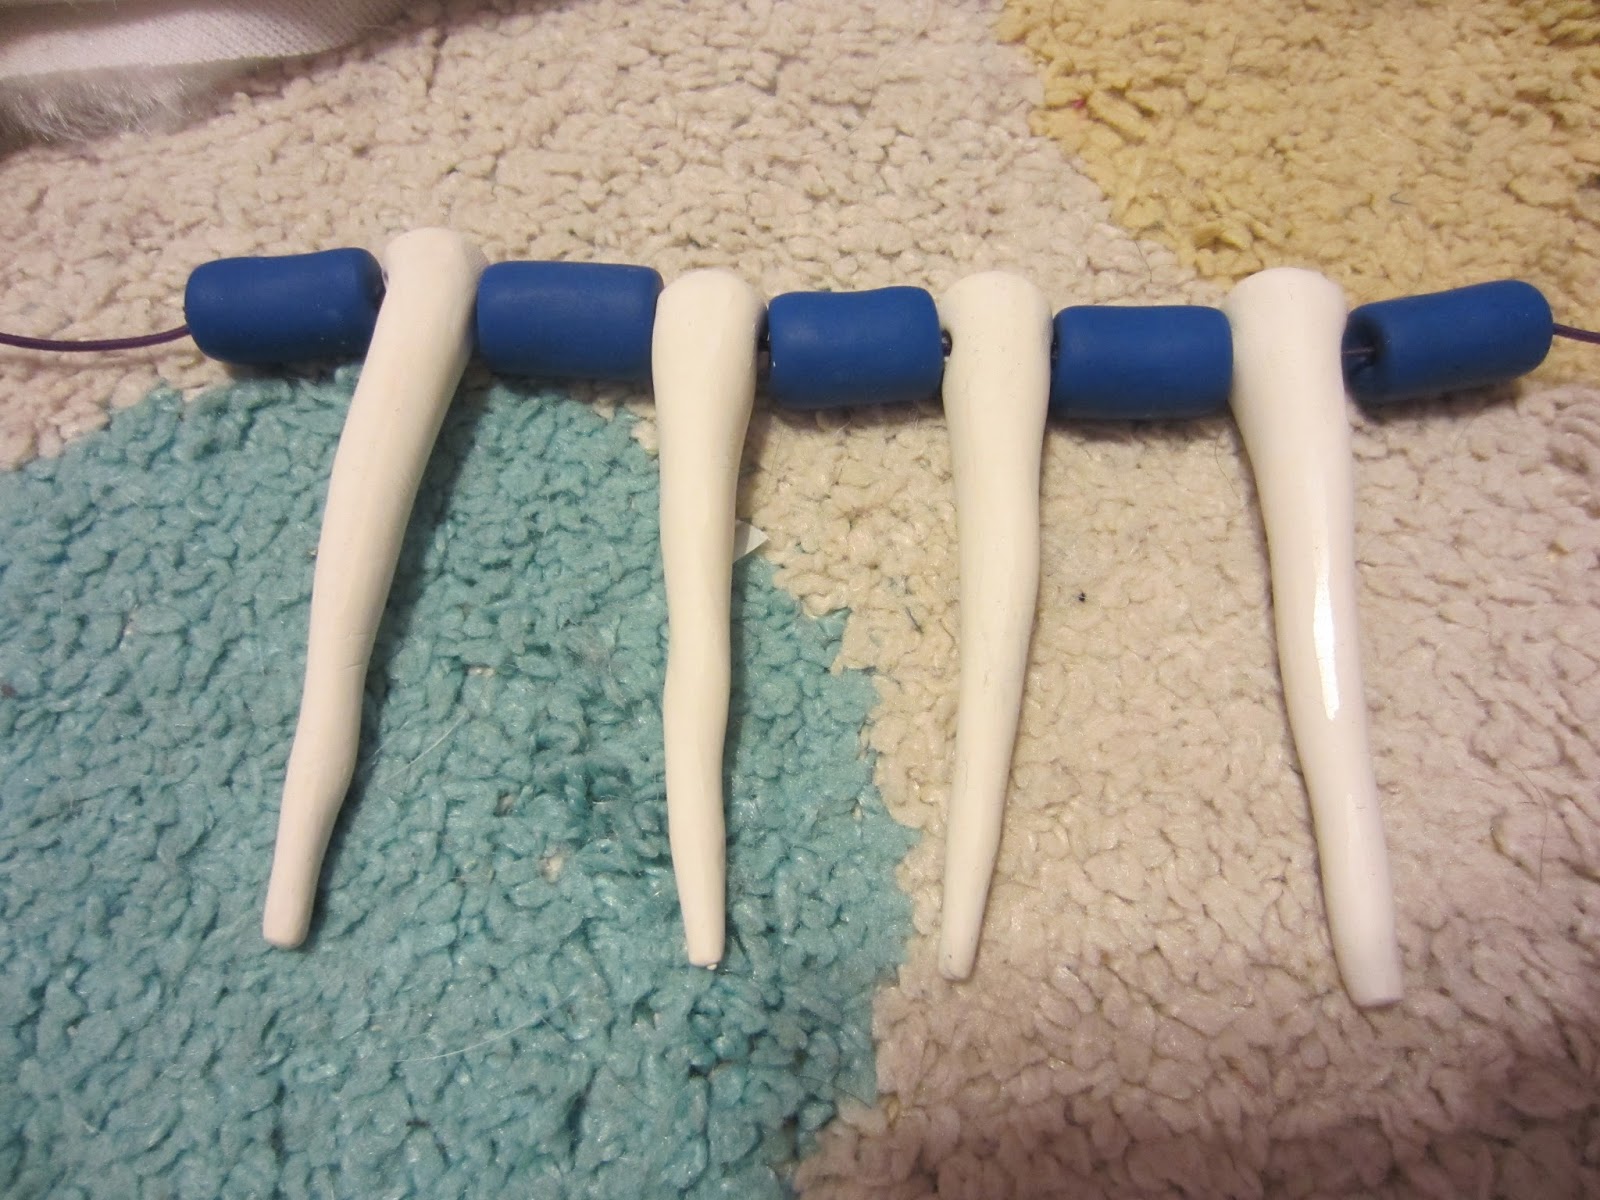
I basically took my white Sculpey clay and made four spikes out of the clay, and then poked a hole through the top each spike, so I could later thread them onto a necklace. I then took my dark blue Sculpey clay and made 5 cylindrical beads that were each the same size. I also poked a hole through each one of those, and then baked all of them.
Once they were baked, I cut a piece of elastic and strung all the beads onto it in this order: blue bead, white spike, blue bead, white spike, blue bead, white spike, blue bead, white spike, blue bead. This is what it looks like:
And later, I'll show how to attach it to the pelt!
Stay tuned.
Up next: clothes and mask!
No comments:
Post a Comment